Getting the Lowdown on Air Conditioning Systems
Choosing the right air conditioning system can feel like a maze, but knowing your options and their perks makes it way easier.
Types of Air Conditioning Systems
Air conditioning systems come in a few flavours, each catering to different cooling needs. Here’s the scoop on the most common ones:
Central Air Conditioning
Central air conditioning is your go-to for cooling the whole house. It uses a network of ducts to spread cool air everywhere. For more details, check out our page on central air conditioning.
| Feature | Central Air Conditioning |
|---|---|
| Cooling Area | Whole house |
| Installation | Complex, needs ductwork |
| Maintenance | Regular filter and duct cleaning |
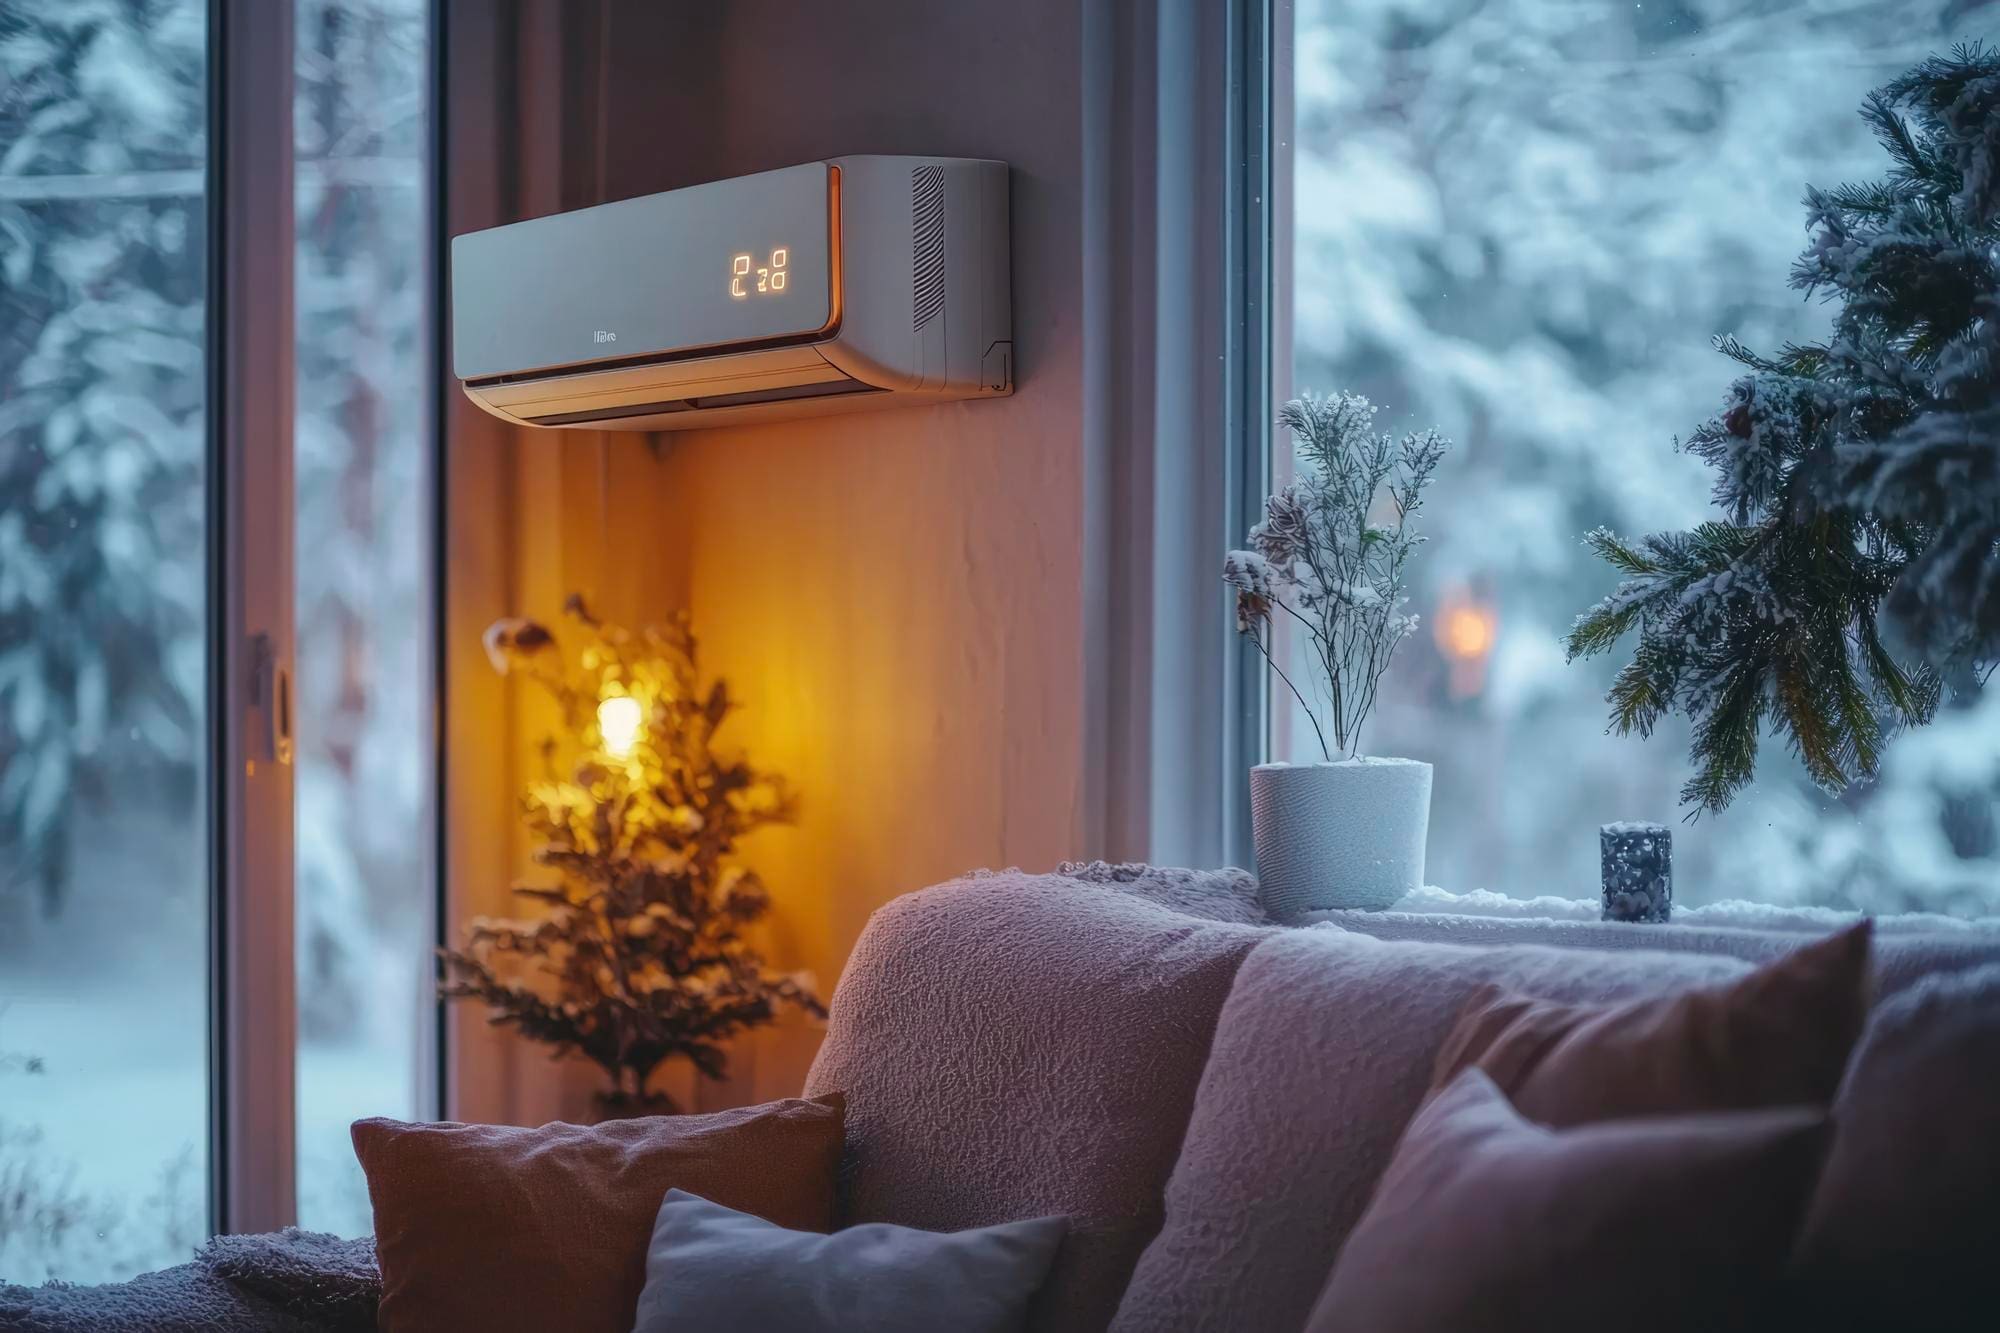
Ductless Air Conditioning
Ductless systems, or mini-splits, are perfect for homes without ducts. They have an outdoor unit and one or more indoor units for targeted cooling. Learn more on our ductless air conditioning page.
| Feature | Ductless Air Conditioning |
|---|---|
| Cooling Area | Individual rooms or zones |
| Installation | Easier, no ducts needed |
| Maintenance | Regular filter cleaning |
Window Units
Window units are a budget-friendly way to cool a single room. They fit right in your window and can be taken out when not needed.
| Feature | Window Units |
|---|---|
| Cooling Area | Single room |
| Installation | Simple, temporary |
| Maintenance | Regular filter cleaning |
Why Bother with Air Conditioning?
Installing air conditioning isn’t just about beating the heat. Here are some sweet benefits:
Better Comfort
Air conditioning keeps your home at a comfy, steady temperature, making those hot days bearable.
Cleaner Air
Modern systems come with filters that zap dust, pollen, and other nasties from the air. For more on this, check out our article on air conditioning filters.
Boosted Home Value
Homes with air conditioning often fetch a higher price and attract more buyers.
Energy Savings
Today’s air conditioners are built to be energy-efficient, which means lower electricity bills. This is a big plus, especially in places like Auckland where energy costs can be all over the place.
| Benefit | Description |
|---|---|
| Comfort | Steady indoor temperatures |
| Air Quality | Advanced filtration options |
| Home Value | Higher market value |
| Energy Savings | Lower electricity bills |
Knowing your air conditioning options and their perks helps you make smart choices for your home. For tips on keeping your system in top shape, visit our page on air conditioning repair.
Getting Ready for Installation
Before you set up your air conditioning system, it’s essential to get everything in order to make sure it runs smoothly and efficiently. This means figuring out your home’s cooling needs, picking the best spot for the unit, and checking the electrical setup.
Figuring Out Your Home’s Cooling Needs
To pick the right air conditioning system, you need to know how much cooling your home needs. Think about the size of your home, the number of rooms, and the local climate in Auckland. Use the table below to get an idea of the cooling capacity you need based on your home’s area.
| Area (Square Metres) | Cooling Capacity (kW) |
|---|---|
| Up to 20 | 2.5 |
| 20 – 40 | 4.0 |
| 40 – 60 | 6.0 |
| 60 – 80 | 7.0 |
| 80 – 100 | 8.0 |
For a spot-on assessment, you might want to talk to a pro who can look at the unique factors of your home. Knowing your cooling needs helps you pick the right system, whether it’s ductless air conditioning or central air conditioning.
Picking the Best Spot
Choosing the right place for your air conditioning unit is key for good cooling and saving energy. Here’s what to keep in mind:
- Indoor Unit: Put it in a central spot for even cooling. Keep it away from heat sources and direct sunlight.
- Outdoor Unit: Place it in a well-ventilated area, free from obstructions. It should sit on a stable, level surface to reduce vibrations.
- Airflow: Think about how air moves in your home. The indoor unit should be positioned to allow free airflow throughout the room.
Good placement boosts the system’s performance and cuts down on wear and tear, which might save you from frequent air conditioning repairs.
Checking Electrical Setup
Before you start the installation, make sure your electrical system can handle the air conditioning unit. A weak setup can cause problems or even be dangerous. Here’s what to check:
- Voltage: Make sure your home’s electrical system supports the unit’s voltage needs.
- Circuit Breaker: Check if the circuit breaker can handle the extra load. You might need to upgrade it.
- Wiring: Look at the wiring to ensure it’s in good shape and can handle the power demands. Bad wiring can cause inefficiency or hazards.
| Electrical Component | Requirement |
|---|---|
| Voltage | 220-240V |
| Circuit Breaker | 15-20 Amps |
| Wiring | Copper, 12-14 gauge |
If you’re not sure about your home’s electrical capacity, it’s a good idea to call an electrician for any needed upgrades. This ensures the installation meets safety standards and works efficiently.
By getting everything ready, you can make sure your air conditioning system runs well, keeping your home comfy and efficient. For more tips, check out our articles on air conditioning filters and central air conditioning.
How to Install Your Air Conditioning System
Putting in an air conditioning system isn’t rocket science, but it does require some know-how to get it right. Let’s break down the steps so you can be ready for a smooth installation in your Auckland, New Zealand home.
Installation Steps
- Check Out the Site: Before anything else, we need to scope out your place. This means figuring out how big the area is, the layout, and any special needs you might have.
- Pick Your System: Based on what we find, we’ll help you choose the right air conditioning system. You might go with ductless air conditioning or central air conditioning, depending on what fits best.
- Get the Electrical Ready: We’ll make sure your electrical system can handle the new unit. Sometimes this means upgrading your panel or adding new wiring.
- Mount the Indoor Unit: We’ll put the indoor unit on the wall or ceiling, making sure it’s secure and positioned for the best airflow.
- Set Up the Outdoor Unit: The outdoor unit goes on a concrete slab or brackets. Placement is key for efficiency and easy maintenance.
- Connect Everything: We’ll link the indoor and outdoor units with refrigerant lines, electrical wiring, and a drain hose. These connections need to be airtight and well-insulated.
- Test the System: Once everything’s hooked up, we’ll test the system to check for leaks and make sure all parts are working right. This includes checking refrigerant levels and electrical connections.
- Fine-Tune and Calibrate: Finally, we’ll tweak the system to make sure it runs at peak efficiency. This might mean adjusting the thermostat settings and airflow direction.
| Step | Description |
|---|---|
| 1 | Check Out the Site |
| 2 | Pick Your System |
| 3 | Get the Electrical Ready |
| 4 | Mount the Indoor Unit |
| 5 | Set Up the Outdoor Unit |
| 6 | Connect Everything |
| 7 | Test the System |
| 8 | Fine-Tune and Calibrate |
Common Hiccups and Fixes
Problem 1: Weak Electrical Supply
If your electrical system can’t handle the new unit, it won’t work right. We’ll check your panel and might need to upgrade it or add a dedicated circuit.
Problem 2: Bad Unit Placement
Putting the units in the wrong spot can mess with efficiency. We’ll choose spots that allow for good airflow and easy maintenance. The outdoor unit should be in a shaded area to avoid overheating.
Problem 3: Refrigerant Leaks
Leaks can kill your cooling efficiency. We’ll make sure all connections are tight and insulated. Regular maintenance checks can catch leaks early.
Problem 4: Poor Insulation
Bad insulation on refrigerant lines and ductwork can waste energy. We’ll ensure everything is properly insulated to keep your system running smoothly.
Want to keep your system in top shape? Check out our guide on air conditioning repair.
By tackling these common issues head-on, we make sure your air conditioning installation goes off without a hitch, giving you a comfy, cool home.
After You’ve Installed Your AC: What Next?
Congrats on getting your new air conditioning system up and running! Now, let’s make sure it stays in tip-top shape and keeps you cool for years to come.
Keep Your AC Happy: Maintenance Tips
Want your AC to run like a dream? Regular upkeep is the key. Here’s how to keep your unit in prime condition:
- Clean or Swap Out Filters: Dirty filters choke airflow and make your AC work harder. Check them often and clean or replace as needed. Need more info? Check out our air conditioning filters guide.
- Thermostat Check: Make sure your thermostat is on point. Thinking about an upgrade? A programmable thermostat can save you some serious cash on energy bills.
- Coil Care: Dust and grime on condenser and evaporator coils can mess with heat absorption. Give them a good clean now and then.
- Clear the Clutter: Keep the area around your outdoor unit free of debris. Good airflow is a must.
- Call in the Pros: An annual check-up by a professional can catch small problems before they turn into big headaches.
| Maintenance Task | How Often? |
|---|---|
| Clean or Replace Filters | Monthly |
| Inspect Thermostat | Every 3 Months |
| Clean Coils | Twice a Year |
| Clear Area Around Unit | Once a Year |
| Professional Inspection | Once a Year |
Know Your Warranty and Support
Understanding your warranty and support options can save you a lot of trouble down the line.
- What’s Covered?: Get to know the ins and outs of your warranty. It usually covers parts and labor for a certain period. Keep all your paperwork handy.
- Register Your Warranty: Some manufacturers need you to register your product to activate the warranty. Don’t skip this step!
- Support Channels: Know where to go for help. This could be a customer service hotline, an online portal, or a local service center.
- Keep a Log: Record all your service and maintenance activities. This can be a lifesaver for warranty claims and future repairs.
For more tips on handling issues, check out our air conditioning repair guide. Keeping these post-installation tips in mind will help your AC run smoothly and efficiently for years to come.